Building Secure Remote Access for My Home Lab with Tailscale
One of the biggest goals for my home lab has always been simple:
I want to access my services securely from anywhere — without exposing my lab directly to the public internet.
I run a Proxmox-based home lab with multiple nodes and services like Pi-hole, Homepage, monitoring, storage experiments, and other self-hosted tools. Until now, most of this was only accessible when I was connected to my local network.
So I decided to build a proper remote access layer using Tailscale.
This post documents the setup, the problem I solved, and the final working state of the system.
The Problem
My home lab runs on a private LAN:
192.168.0.0/24
That means services like these are only available locally:
Pi-hole       → 192.168.0.200
Homepage      → 192.168.0.210
Immich        → 192.168.0.220
Nextcloud     → 192.168.0.230
Grafana       → 192.168.0.240
Proxmox       → 192.168.0.125:8006
I did not want to expose these services with router port forwarding.
Opening Proxmox, SSH, Grafana, Pi-hole, or internal dashboards to the internet would increase the attack surface too much. The safer approach was to create a private tunnel into the network.
That is where Tailscale fits perfectly.
Why Tailscale?
Tailscale creates a secure private network between my devices using WireGuard under the hood.
The best part for my use case is the subnet router feature.
Instead of installing Tailscale on every single home lab VM, container, and device, I can install it on one dedicated VM and let that VM route traffic into my home LAN.
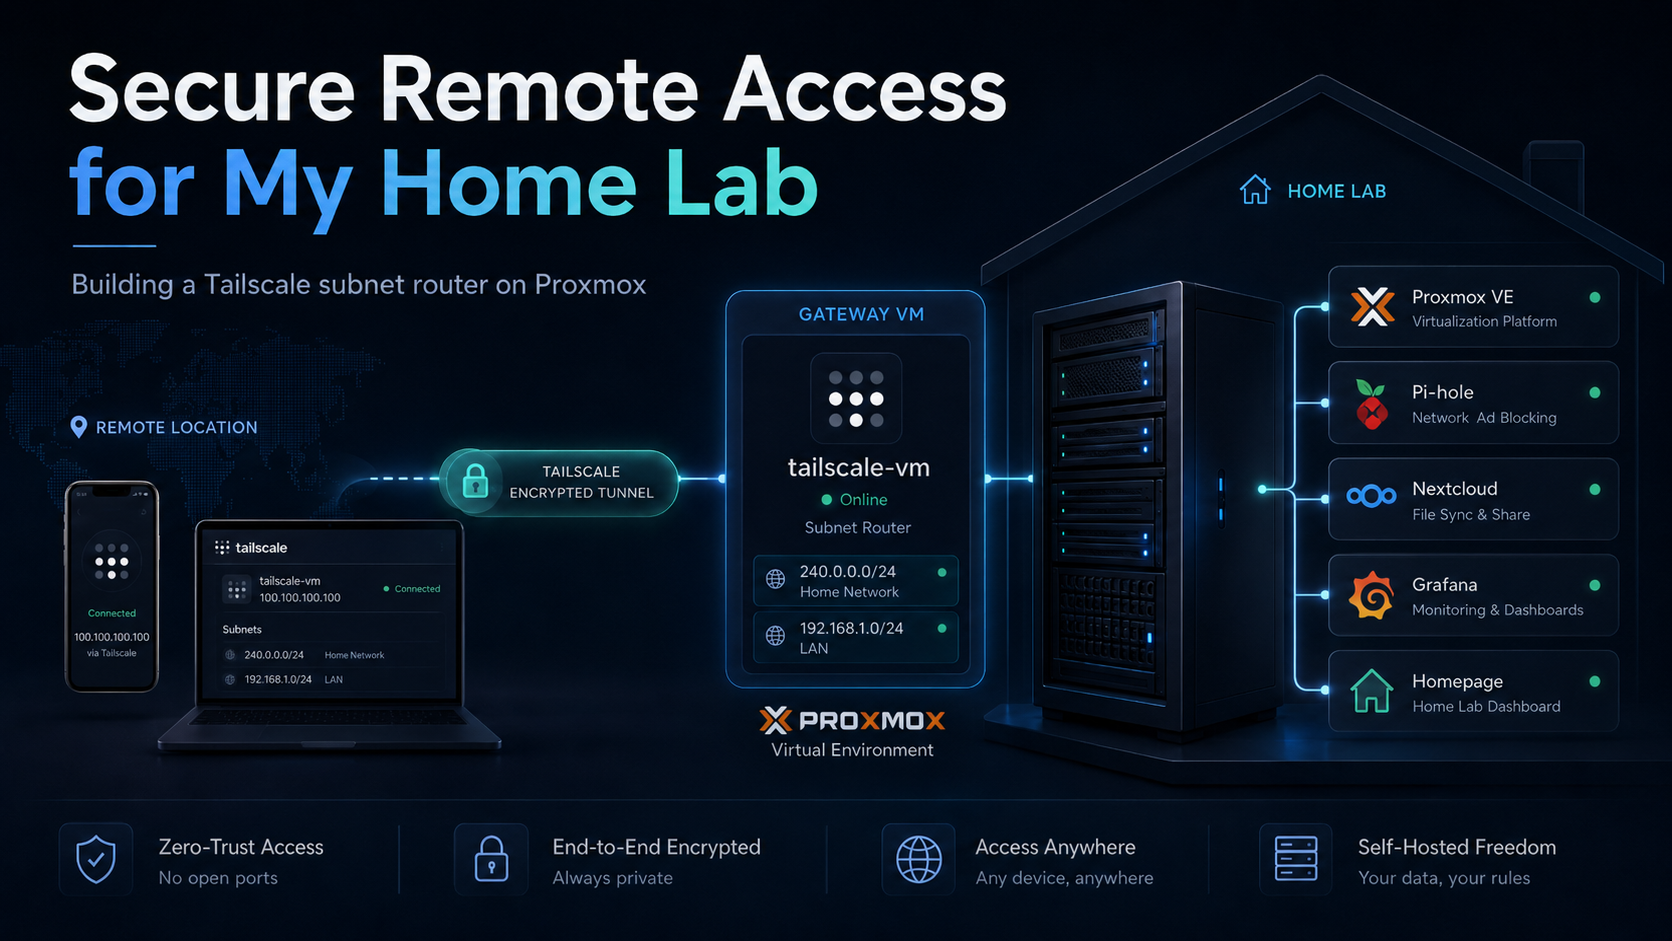
The final design looks like this:
Phone / MacBook outside home
        ↓
Tailscale secure tunnel
        ↓
tailscale-vm
192.168.0.250 / 100.75.78.94
        ↓
Home lab LAN
192.168.0.0/24
This gives me remote access without making my services public.
Creating the Tailscale VM
I created a dedicated VM in Proxmox:
VM ID: 250
Name: tailscale-vm
OS: Ubuntu Server
CPU: 2 cores
RAM: 2 GB
Disk: 32 GB
Network: vmbr0
LAN IP: 192.168.0.250
I chose a VM instead of an LXC container because Tailscale needs tunnel support, and using a VM avoids extra container permission issues around /dev/net/tun.
The goal was to keep this VM small, stable, and focused on one job:
Be the secure entry point into the home lab.
Fixing the First Networking Issue
After installing Ubuntu, I ran:
sudo apt update
But the VM could not resolve package repositories:
Temporary failure resolving 'security.ubuntu.com'
Temporary failure resolving 'ca.archive.ubuntu.com'
The issue was in the Netplan configuration.
The VM had this route:
routes:
  - to: default
    via: 192.168.0.200
But 192.168.0.200 is my Pi-hole, not my router.
The correct gateway was:
192.168.0.1
I fixed the Netplan file:
network:
  version: 2
  ethernets:
    ens18:
      addresses:
        - 192.168.0.250/24
      routes:
        - to: default
          via: 192.168.0.1
      nameservers:
        addresses:
          - 192.168.0.200
          - 1.1.1.1
          - 8.8.8.8
        search:
          - home.lan
Then applied it:
sudo netplan apply
After that, DNS and internet access started working properly.
Installing Tailscale
Once networking was fixed, I installed Tailscale:
curl -fsSL https://tailscale.com/install.sh | sh
Then I enabled IP forwarding so the VM could route traffic between the Tailscale network and my home LAN:
echo 'net.ipv4.ip_forward = 1' | sudo tee /etc/sysctl.d/99-tailscale.conf
echo 'net.ipv6.conf.all.forwarding = 1' | sudo tee -a /etc/sysctl.d/99-tailscale.conf
sudo sysctl -p /etc/sysctl.d/99-tailscale.conf
Then I brought Tailscale up as a subnet router:
sudo tailscale up --advertise-routes=192.168.0.0/24 --ssh
This advertised my home lab subnet:
192.168.0.0/24
After logging in through the Tailscale authentication link, I approved the subnet route from the Tailscale admin console.
Testing Remote Access
The real test was using my phone on mobile data.
Once the subnet route was approved, I opened my browser and accessed my internal home.lan services from outside Wi-Fi.
It worked.
That means the path was now:
Phone on mobile network
        ↓
Tailscale tunnel
        ↓
tailscale-vm
        ↓
home.lan services
At this point, I could reach internal services securely without exposing them publicly.
Final Working State
Here is the final state of the setup:
VM ID: 250
Name: tailscale-vm
LAN IP: 192.168.0.250
Tailscale IP: 100.75.78.94
Role: Subnet router
Advertised subnet: 192.168.0.0/24
DNS: home.lan working remotely
Exit node: disabled for now
Snapshot: taken after successful setup
I also took a Proxmox snapshot after confirming everything worked, so I now have a clean rollback point.
I’m calling this milestone:
Home Lab Remote Access v1 — Complete
Why I Did Not Enable Exit Node Yet
Tailscale also supports exit nodes, which can route all internet traffic through a selected device.
For now, I decided to keep exit node disabled.
My current requirement is:
Access my home lab remotely.
That only needs a subnet router.
An exit node would be useful later if I want:
- full internet traffic routed through home
- safer browsing on public Wi-Fi
- my laptop or phone to appear as if it is browsing from my home network
But for this milestone, subnet routing is enough.
What This Unlocks
This setup gives me a much safer way to manage my home lab remotely.
I can now access:
Proxmox
Pi-hole
Homepage
Grafana
Prometheus
Nextcloud
Immich
Omada Controller
Other internal services
without opening public ports on my router.
That is a big improvement in the security posture of the lab.
Instead of exposing every service individually, I now have one controlled private access layer.
What I Learned
This small setup reinforced a few important networking lessons:
- DNS and gateway configuration matter a lot.
- A VM is often simpler than an LXC for VPN/tunnel workloads.
- Subnet routing is better than installing VPN clients everywhere.
- Remote access should not mean public exposure.
- Taking a snapshot after a working milestone is always worth it.
This was a simple but important upgrade.
The home lab now has secure remote access, and I can manage it from anywhere.
Next step: document the service map, add this VM to my Homepage dashboard, and continue building the rest of the lab around this secure access layer.